Bring Out Details and Drama with Side Lighting
The use of lighting in photography is often what differentiates a dull and boring shot from a striking photograph. There are many lighting techniques, light sources, degrees of intensity, and other lighting factors to consider that can take you years of experience to master. Yet, you can also quickly and easily bring your shots to life just by being aware of what angle or direction the light falls on your subject.
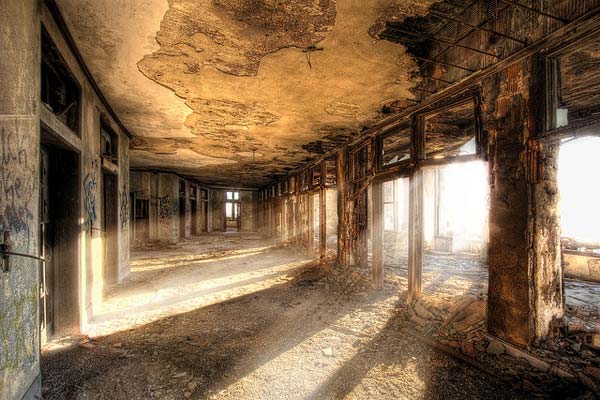
Side lighting simply means that the light source is located at the side of the subject (other directions include back lighting and frontal lighting). You can fully manipulate the angle and intensity of your light in a studio set-up or use light sources that can provide side lighting, such as sunlight through a window.

Photo by Country Boy_Shane
Side Lighting Brings Out the Subject’s Textures
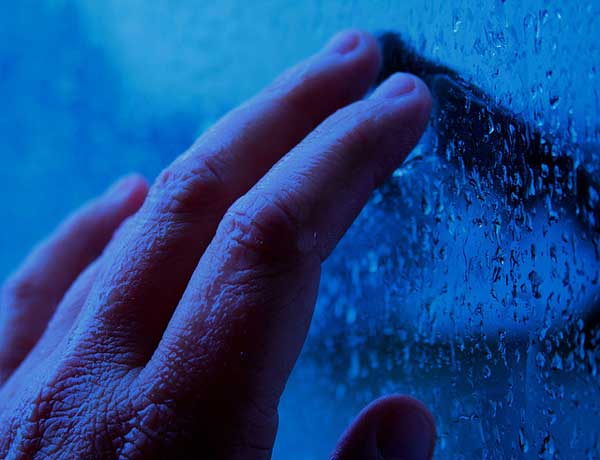
The effects of side lighting are varied and often attractive. Use side lighting if you want to show off your subject’s textures and details. The shadows created by the light’s angle add depth, making the textures more apparent.

Photo by Pink Sherbet
Side Lighting Adds a Dramatic Mood
Side lighting creates shadows, and if the light is intense and focused, the harder the shadows become. This high contrast effect can make a shot appear dramatic as with these sculptures taken at night:

Photo by Jalalspages
Use a Fill Light or a Reflector to Soften the Shadows
If you want to soften the hard shadows created by side lighting, you can use a fill light or reflector to illuminate the shadowed side. A fill light is a supplementary light source that can soften shadows but not overpower the main light source. A reflector is an object with a reflective surface used to redirect light from the light source to brighten the dark areas of the subject. This can be anything from a professional reflector kit to a plain white sheet of paper.
This studio shot of a pair of pears (pun not intended) was lit from the left by the main light source (a speedlight with a softbox). The shadows on the right were softened with the use of a white panel, which bounced back some of the light on to the right side.

Photo by www.fotoARION.ch
Natural Light Can Provide Gorgeous Side Lighting
Sunlight is the best free and natural light source for photography. You just need to familiarize yourself with how to direct it on the subject or scene so you can better control the outcome of your shot. Sunlight streaming through a window or a doorway is often maximized by portrait photographers since it is softer and more flattering to the skin compared to direct sunlight. Countless portraits have been taken with window light, as it is known to nicely illuminate the subject from the side.

Photo by Jasmic
Quick Tips:
- To keep the focus on the subject, use a plain background that won’t catch the light and be a cause of distraction.
- If you have a window in your house that lets in lots of sunlight, you can take advantage of it the next time you shoot a portrait or a still life composition.
- Aside from lighting your subject from the side, you can try going closer to your subject to highlight the textures and details even further.


I really like the top picture of the old building. Looks very much like a HDR image to me. If you are not sure what HDR is you can check it out on Google:)