Black is Beautiful – Introduction to Low Key Photography
Low Key Photography is one of my favorite styles in Photography, because it makes the subject stand out against the background. I love using it, especially for taking photographs of infants, babies, and pregnant moms. Most photographers also use Low Key Photography style in shooting nudes. It is characterized by having dark tones, high contrast and a great amount of shadows. Photographs taken in in a Low Key Lighting set up usually depict a dramatic scene. Most Low Key Photographs seen online are in black and white. But using different colors can also add interesting effects to your Low Key Photographs.
High Key and Low Key Photography; what’s the difference?
High Key and Low Key photography are two extremely different styles of photography. I use High Key Photography for shooting products, family portraits and individual portraits. High Key Photography gives a light, happy and relaxing feel to photographs and viewers of the photos. Low Key Photography on the other hand gives a heavy, dramatic and sometimes mysterious feel to the photos.
In High Key Photography the exposure levels are at higher values resulting in photographs with brighter tones. As for Low Key Photography the controlling color is black, resulting in photographs that have greater amount of shadows. Photographs taken in Low Key Set up have darker tones.
High Key Photographs lack shadows and contrast, while Low Key Photographs have greater amount of shadows and have stronger contrast.
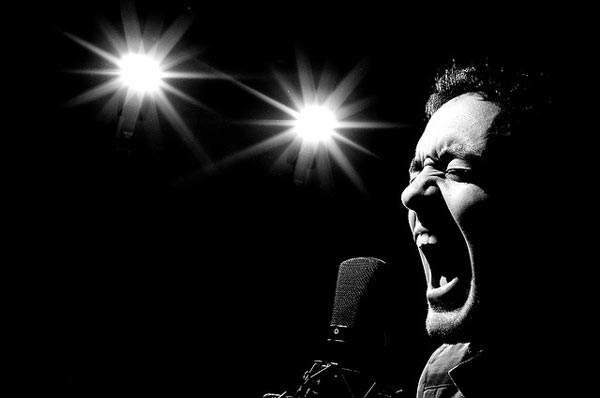
Photo by: zetson
Low Key Photography Set-up
I have seen people do Low Key Photography using three lights, some use two lights and a reflector, but most people use only one light to effectively illuminate and eliminate parts of the subject. As for the background, most Low Key Photographs are taken using a black or dark background. For portraits, subjects should wear black or dark clothing. The lights should be kept off to the side of the subject to avoid lighting up the background. If you think there’s too much contrast and shadows you can use a reflector or additional lights as fill light. You can also use additional lights for accentuating different spots of the subject. Depending on your taste you can try to experiment on hair lights and rim lights. Hair lights and rim lights are used to separate the subject from the background. Hair lights and rim lights are positioned at the background or 45 degrees behind the subject. Just make sure that the light stands and light diffusers won’t be seen on the photos, or you can always edit them out using Photoshop.
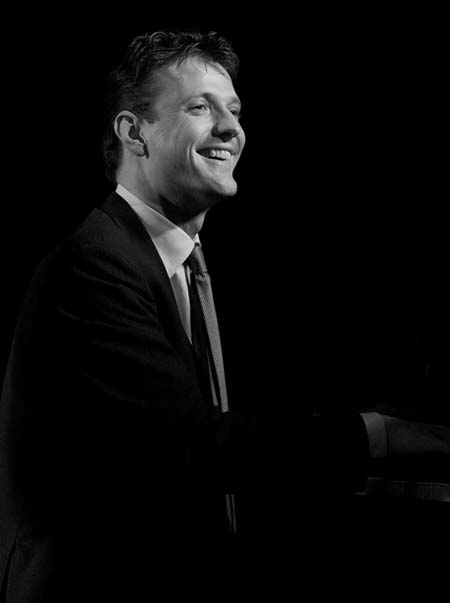
Photo by: Haags Uitburo
It’s best that you get the exposure right when shooting rather than fixing it in Photoshop, Lightroom or other post processing software. The darker parts of the photos will get a bit posterized when you bring the exposure up using post processing software. For various results you can also try using a snoot, honeycomb grid and barn door in accentuating different parts of the photograph. Using these will help draw the viewer’s eye to that certain part of the photo.

I love black & white.